Turntable V2
Improvements from V1
- Magnetic platter stabilization
- Increased gain
- Stronger, more-precise parts
Lots of updates! (3/3/2018)
I stained the wood. It's very glossy.

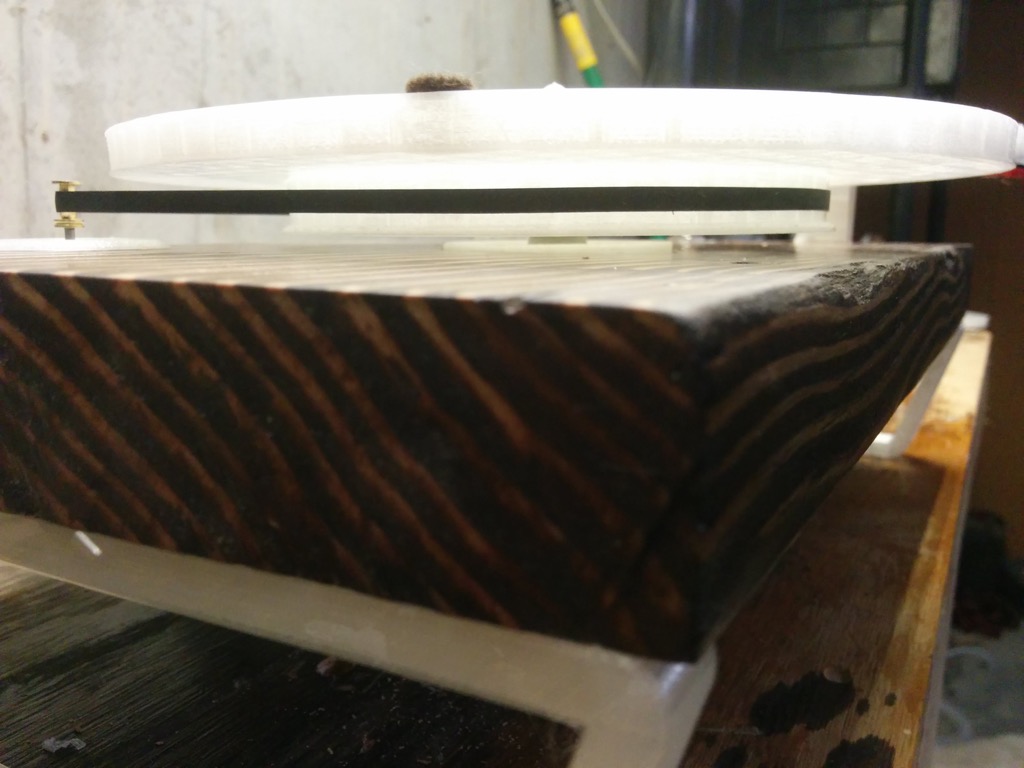
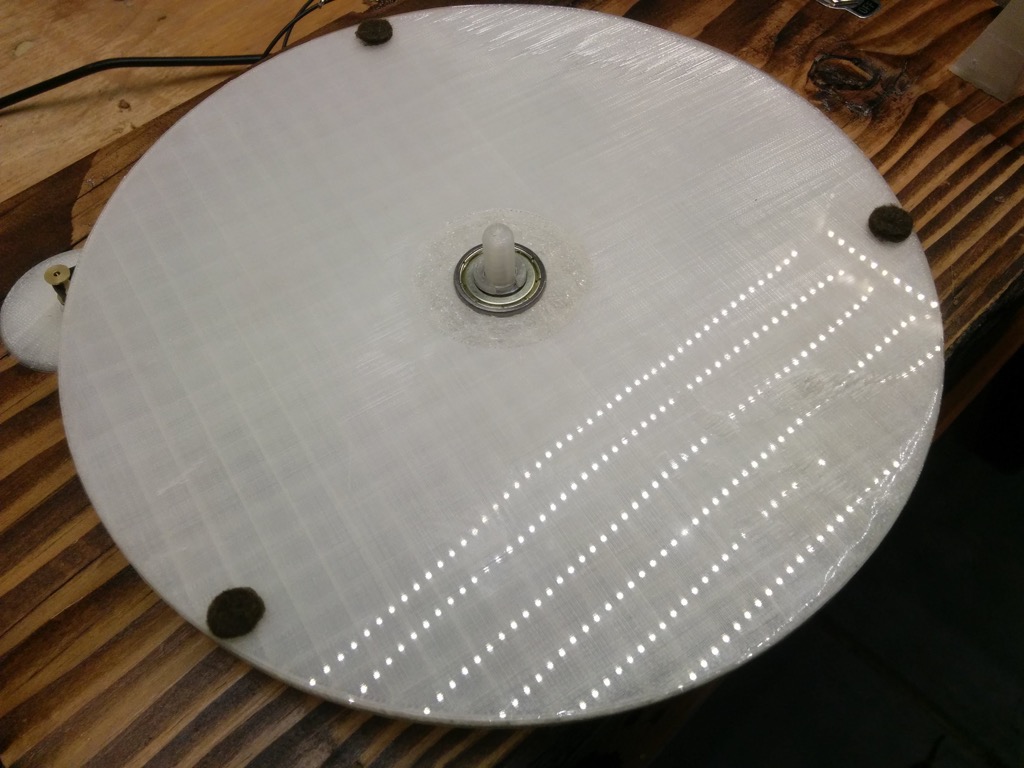
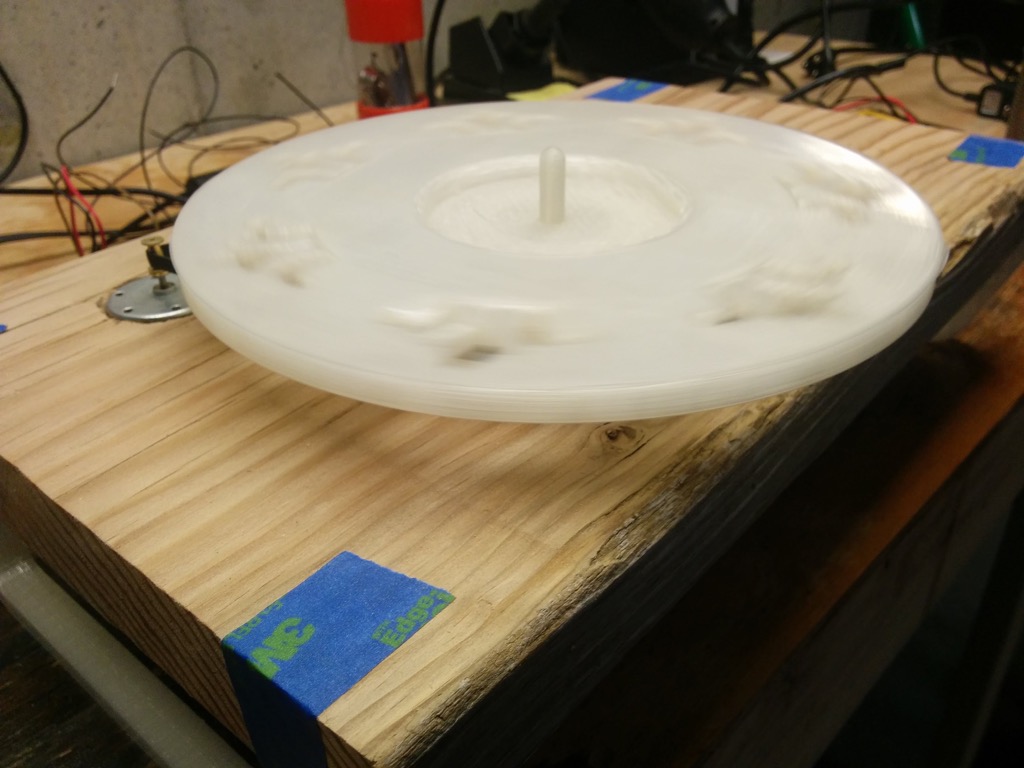
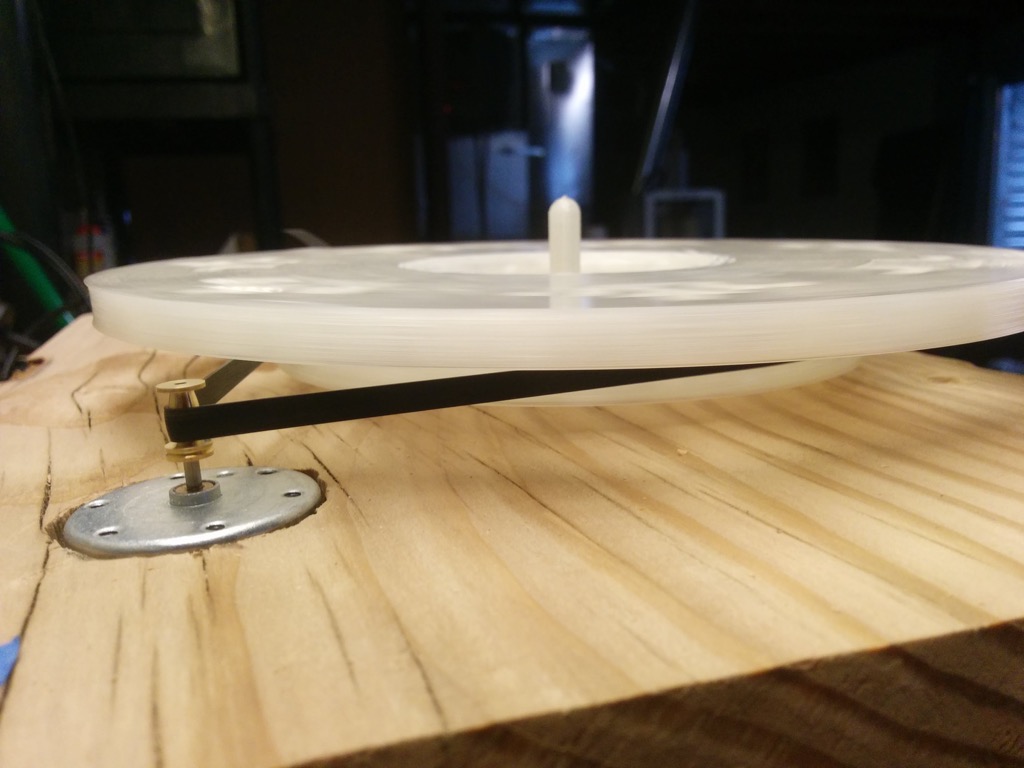
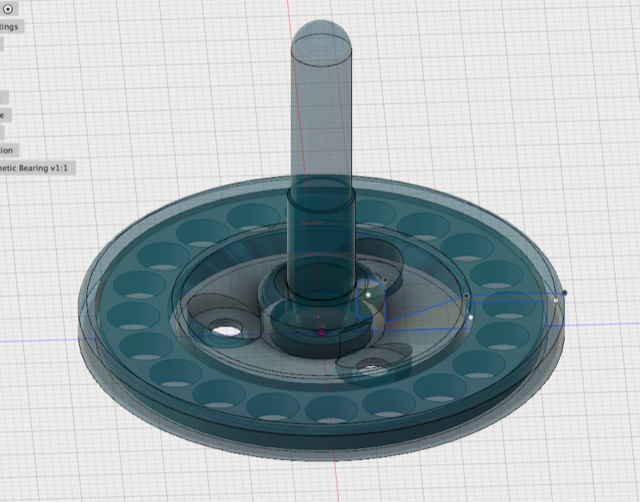
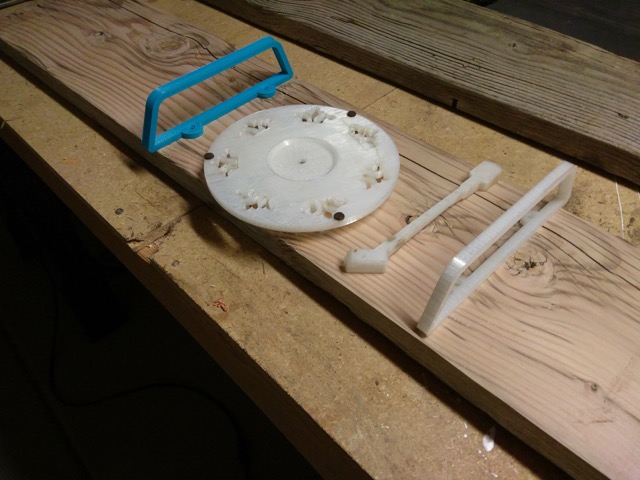
I redesigned the platter to include a bearing on the top and bottom. This makes the platter a lot less wobbly. I also ditched the fleur de lis pattern, as I don't think it really goes with the rest of the design.
These are skateboard bearings, by the way. The inner diameter is just about the same size as a record spindle. At $7 for 8 of them, they're much cheaper than anything made for record players.

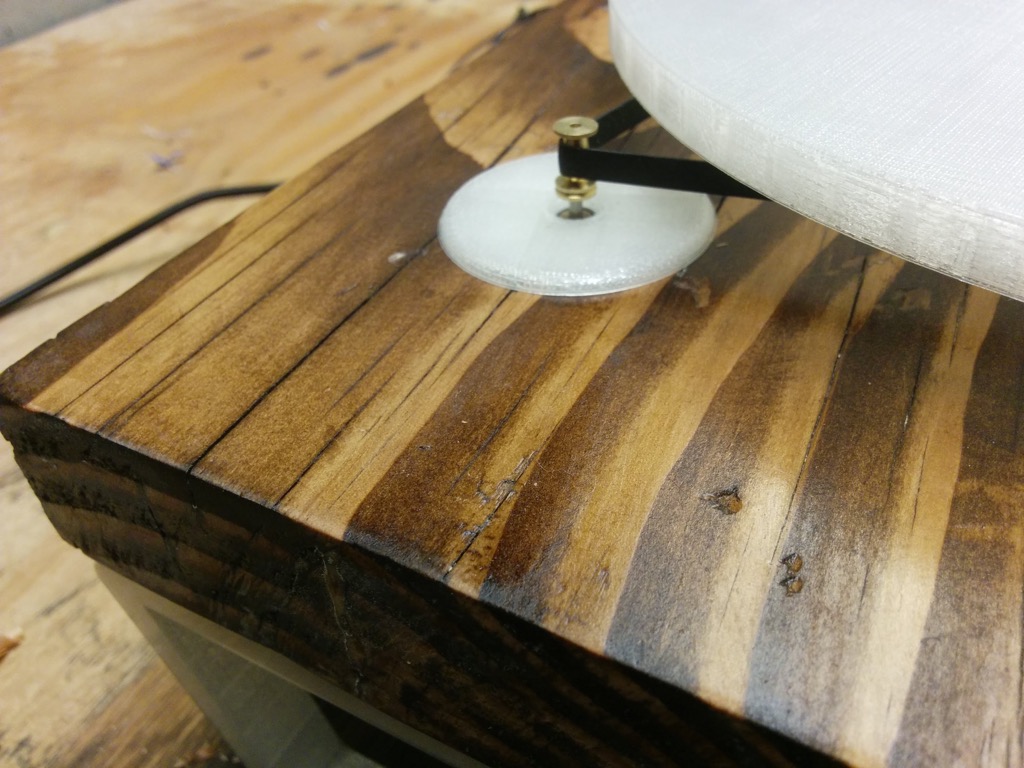
This guy. This little clip changes everything. This was on the original record player I tore apart, but didn't include on my last one. Turn out, it keeps the platter must more level. I removed the magnetic bearing because it doesn't do much now, and the upward pressure actually made things worse.
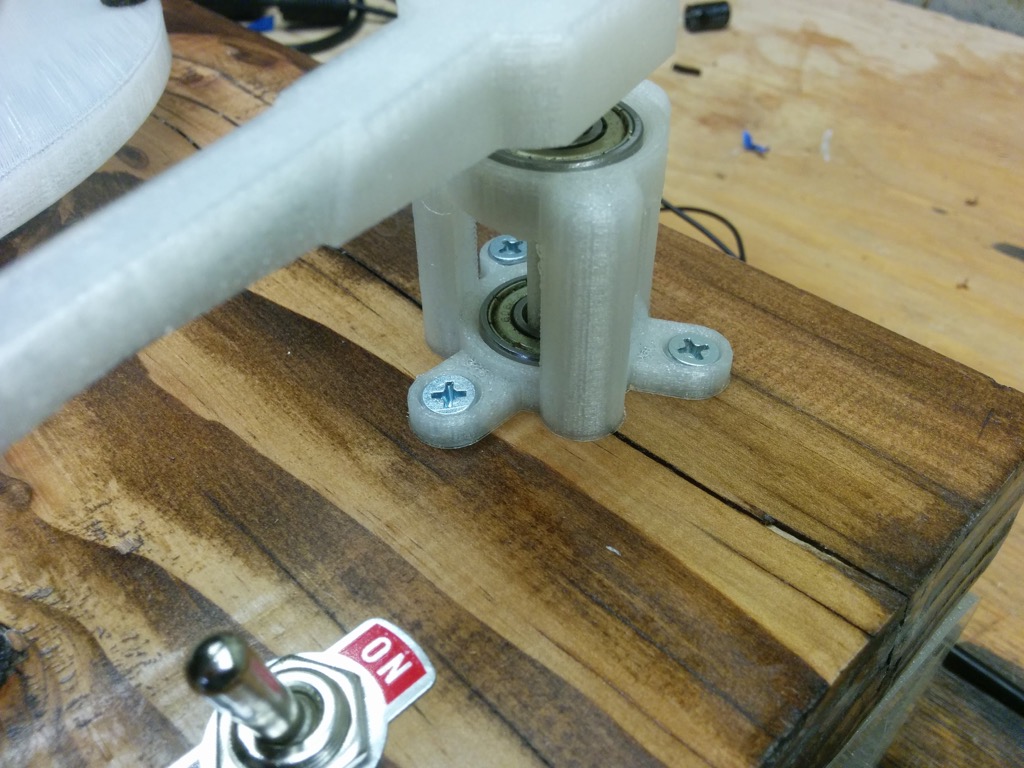
I also beefed up the arm mount with a two bearing design. This lets the arm rotate smoothly with little of the shaking that plagued my last player.
One thing I discovered during this project is that small printed circles are not perfectly true. Out-of-true circles is the kind of thing that can drive you insane. They're just a bit off- you can see it if you try to roll a small part, it speeds up and slows down. This makes a huge difference for rotating parts- they are either too snug or bounce around. So, for anything small that rotates, I'm choosing to use a bearing.
Now the bad news: I destroyed another motor. And everything was going so well. I think it happened when I removed it from the wood when I stained it- I heard a little pop. Still, I have no idea what actually broke inside. I took it apart, tried to fix it, tried to frankensteined it together with my other broken motor- no luck.
The motors are cheap, but take weeks to arrive from China. So, I ordered three of them.
In the meantime I'll improve the PCB and RCA mounts on the bottom. I'd also like to make the player arm attach magnetically to the arm rest.
It's alive! (2/7/2018)
I got the needle and audio-out wired up and took it for a spin. It's a taped-together mess. But, so was Amy.
Spinning Platter (2/4/2018)
Alright, now we're getting somewhere. I got the new motor and didn't blow it up.
I like woodworking and I like 3d printing, but I sort of despise the wood portion of these mixed-media projects. With the printer, I can press a button and get a precision part to about 0.2mm. With wood, I get misshapen, hand-cut holes. Thankfully we can just cover those sloppy edges with pretty machine-made parts.
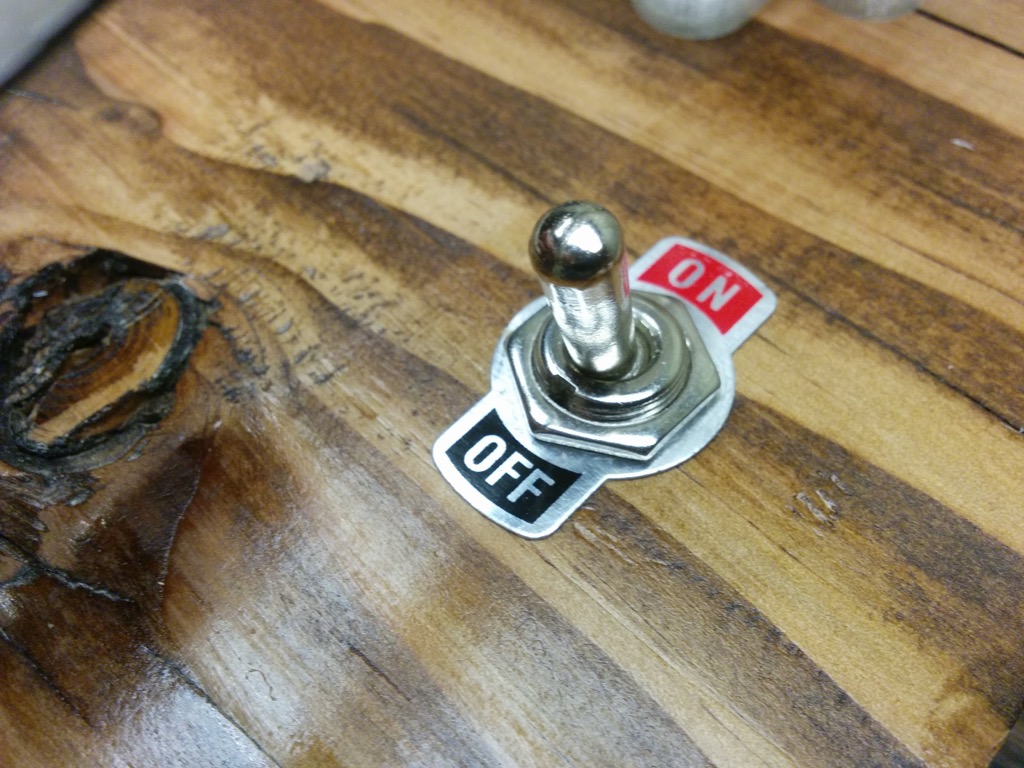
I flipped with switch and it spins nicely. No skidding and fairly balanced, so we're off to a better start than the last one. I'm not sure the magnetic bearing is doing much, but this will get some refinement once it's playing.
KAAABOOOOOOOMMM! (1/12/2018)
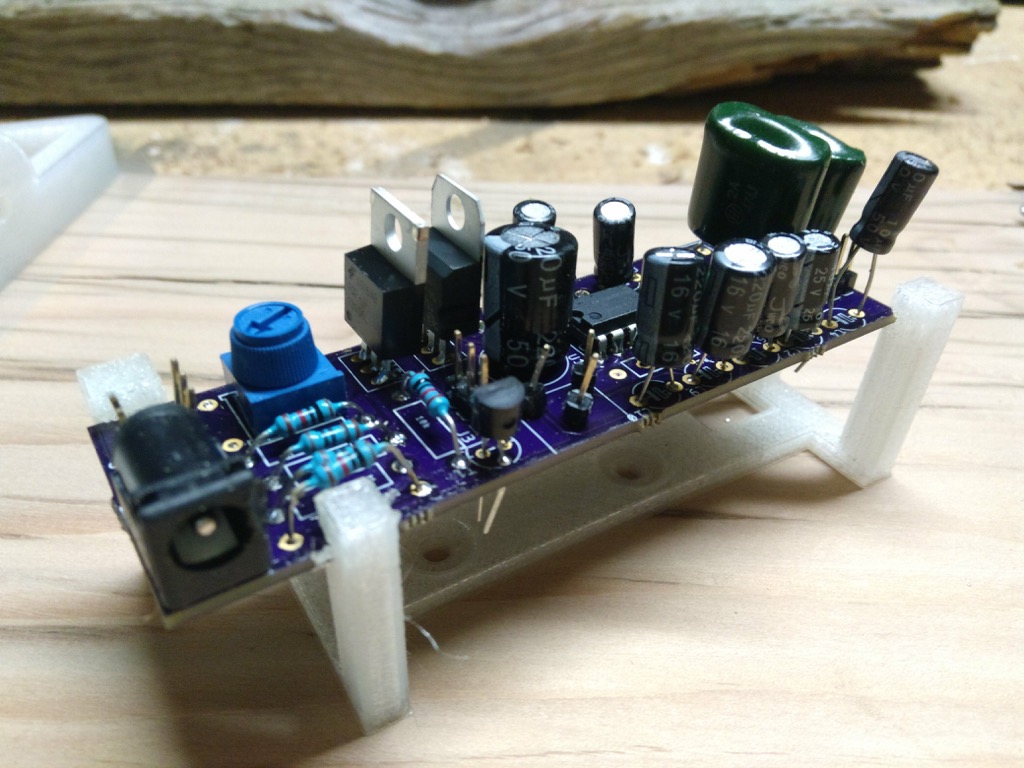
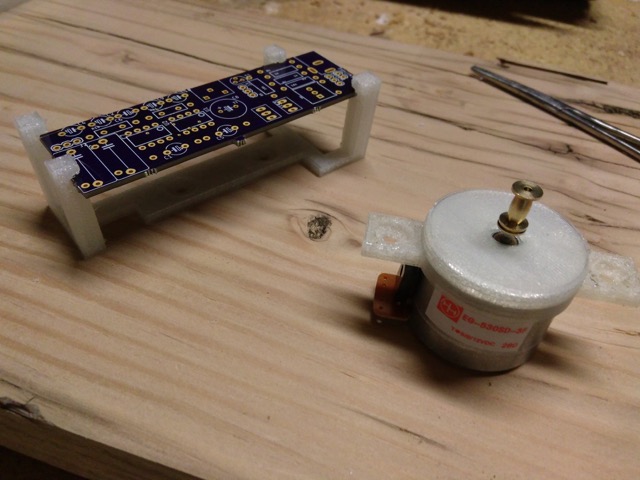
My goal tonight was to make sure the PCB was working and get the motor running. I wired up the motor and plugged it in, but no luck, and the voltage regulator was getting hot.
After some searching, it turns out two parts were backwards. I'd misread the FQP13N06L datasheet, saw "G", and thought "Ground" and not "Gate". It's a MOSFET, duuuuuuuuhhh!
Removing parts like this is usually a huge pain, but I recently bought a hot air reflow station which I hadn't run yet. If you're not familiar with it, it's basically a hair dryer, but the air is 500 degrees and it comes out a 1/4" hole. Point it at the part, wait a few seconds for everything to melt, and pull it out with pliers. Same for putting it back in.
With that done, I wired up the motor. A few seconds after it started spinning, it popped and went up in smoke. I guess I was moving too fast, should have double-checked the voltage and direction.
It's not an expensive part, but it took about 3 weeks to receive. So, kind of a setback. I can still use it as a dummy placeholder for fitting parts together.
Soldering (1/11/2018)
Mounts! (1/9/2018)
When I designed the PCB I was so concerned about fitting everything in that I didn't think about mounting it at all. So the mounting bracket I had to come up with looks ridiculous.
I'm also changing how the motor is mounted. In V1, only the brass pulley comes up through the wood, and the entire motor is hidden underneath. This has been a lot more trouble than it's worth. Instead, the motor will be mounted from top and bottom.

Magnetic Bearing (12/30/2017)
I'm testing out a magnetic bearing to stabilize the platter and reduce friction. Each ring holds 20 tiny magnets pointed in the same direction. Huge pain to assemble, my wrists still hurt. While it does levitate about a centimeter with a record on it, I'm reducing this such that the platter barely floats and takes weight off the skate bearing.
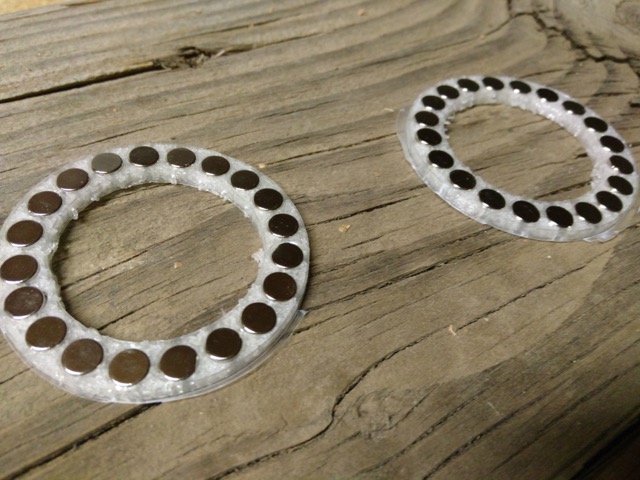
I mounted one half of the bearing in an assembly with the spindle, and the second within the turntable platter.
Printing!
Started printing the legs. They're a little bit beefier than the legs on the V1.
Restoring the wood (12/13/2017)
Planed and sanded the wood down to 400 grit, and started considering overall dimensions. Only got a few splinters.
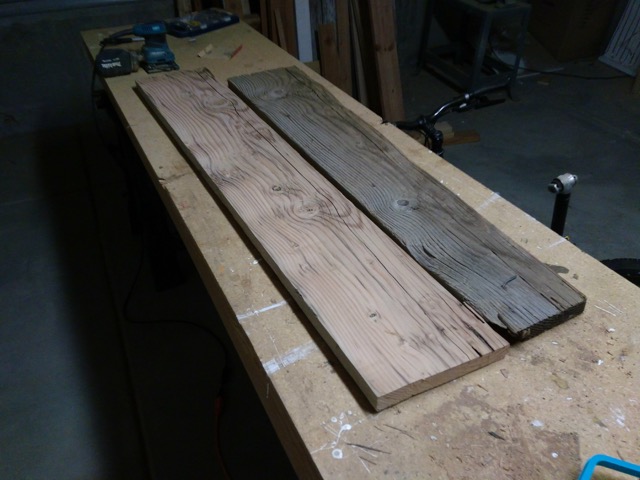
Picking out some materials (12/7/2017)
I went to Resource to pick up some wood for the project. I selected an old, weather-beaten 2x12, probably from an old deck or something. Total came to $4, and they threw in the screws for free because Resource apparently doesn't care about making money.

Resource is a non-profit for resuse of scrap materials.
Cody is unamused.